Prologue
-
SpringBoot 프로젝트 시작 시
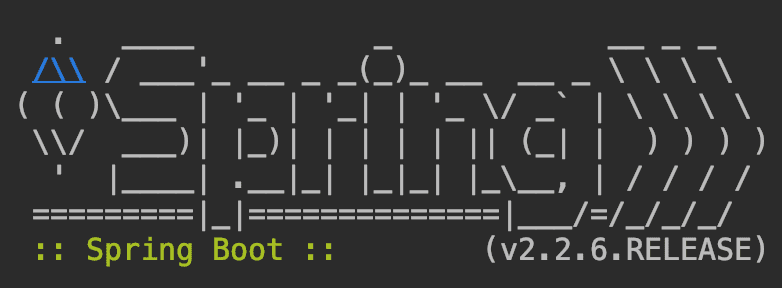
기본적으로는 다음과 같은 배너를 보게 된다.

- 위 배너를 수정하는 방법에 대해 알아보자.
Banner
- 매우 간단하게 수정할 수 있다.
-
main/resuources/banner.txt를 생성
-
해당 파일에 노출하고 싶은 Text를 입력
Example
Case 1
main/resources/banner.txt
                              _    _____   _       _
                             | |  / ____| (_)     | |
   __ _    ___     ___     __| | | |  __   _    __| |
  / _` |  / _ \   / _ \   / _` | | | |_ | | |  / _` |
 | (_| | | (_) | | (_) | | (_| | | |__| | | | | (_| |
  \__, |  \___/   \___/   \____|  \_____| |_|  \____|
   __/ |
  |___/
-
배너로 노출할 Text를
입체적으로 생성하는 건 쉽지 않으니
http://patorjk.com/software/taag와 같은 사이트를 이용하자.
Console

Case 2
- Banner에 Spring 프로젝트의 속성들을 사용할 수도 있다.
main/resources/banner.txt
spring-boot.version : ${spring-boot.version}
spring-boot.formatted-version : ${spring-boot.formatted-version}
Console

Summary
-
추가로 SpringBoot에서 Banner에 대해 알고 싶다면
공식 문서인 Customizing the Banner 글을 참고하자.